Making a DIY no-sew pillowcase is a simple and fun handicraft perfect for your homeschool. It’s low cost, low stress and the kids will love it. Read on for instructions and supplies to make your very own DIY no-sew pillowcase.
Include Handicrafts In Your Homeschool
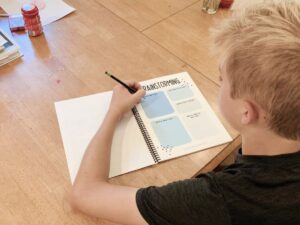
My youngest son enjoys working with fabric and has been learning to sew over the past year. We don’t have a sewing machine so he’s learning to stitch with a needle and thread. This has all germinated out of his own interests, as I do not sew.
Except for the apron and stuffed animal I made in a high school course I took called Living Today.
And a dress my mom helped me sew in high school. That’s when I fully realized I didn’t like sewing.
To date, he’s made three pillows, a stuffed animal (that he crafted from his own pattern), and now he’s added a no-sew pillow to his collection of handmade goods.
Crafting and handiwork is something we try to include in our homeschool as part of our bent toward the Charlotte Mason approach. Some handiwork projects require major prep if you don’t know what you’re doing. This one however is so simple and easy!
It’s a win for you, your kids, and your homeschool.
If you’re not amazing at handicrafts, don’t worry. I’m certain any mom can master the no-sew!
The Basic Steps Of a DIY No-Sew Pillowcase
Step 1-Get Some Fleece Fabric
We purchased 1.5 yds of fleece from the local big box store for less than $7. Because we decided to use a standard size pillow for the insert, we based the length of fabric on the pillow size. Some pillows can be quite jumbo so adjust accordingly!
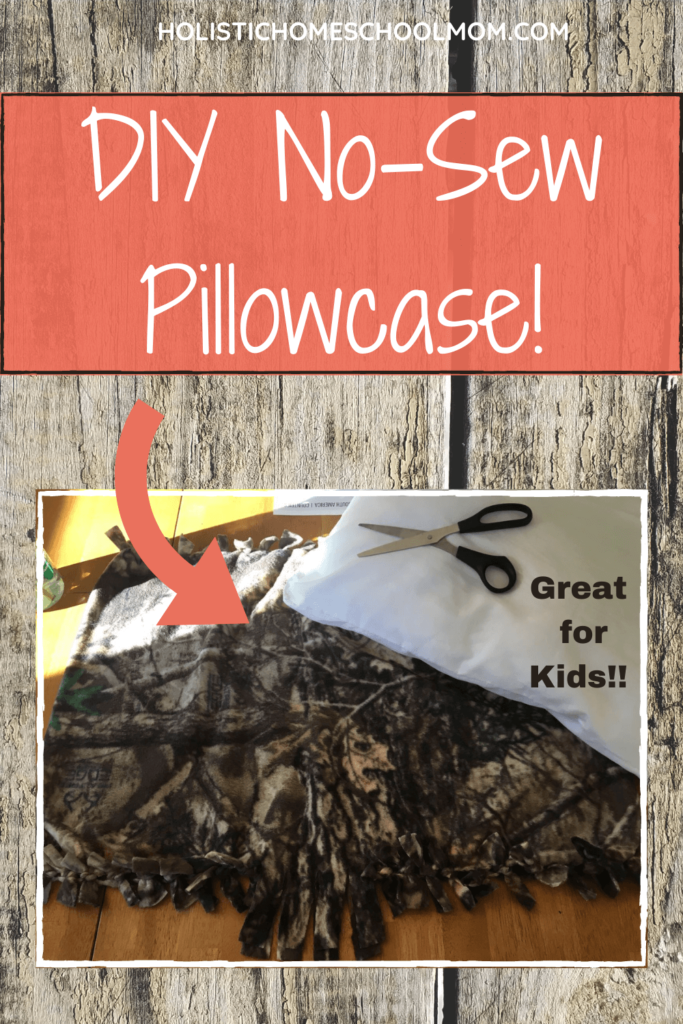
Step 2-Cut the Fringe
We folded the fabric in half, so one edge is the fold, and the other edge is left open to insert or remove the pillow as needed. The bonus here is that you can take the case off and wash it, versus some no-sew designs.
On the remaining two sides, cut 3″ long strips of fabric that are about 1″ wide.
(Some tutorials have you cut a 3″ x 3″ square at the corners of the pillow. We found this step wasn’t necessary because I forgot to do it, and it was just fine!)
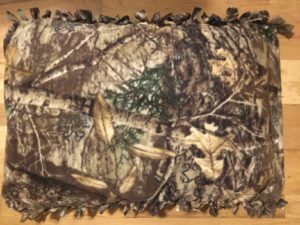
Step 3-Tie the Fringe
Once you have all the strips cut, you simply need to tie two fringe strips together, one from the top layer of the fabric, and one from the bottom. Its best to double knot them. When we tied them only once, it started to come undone when we inserted the pillow.
I did periodically need to stretch the sides we were tying by pulling from corner to corner to help straighten it out.
Step 4-Insert the Pillow
We purchased a standard size pillow which was less than $3. Much more affordable than a bag of filling, which was over $10!
(Thanks to clerk in the sewing aisle that gave us that tip. It never would have occurred to me. Again, I’m not a pro-crafter.)
Insert the pillow and voila! You have mastered the no-sew! Give yourself a break and enjoy a nice cup of tea.
PS. In case you really loved this craft and are up for more, here are four links to other no-sew projects:
1- No-Sew Fleece Scarf from Scattered Thoughts of a Crafty Mom.
2-DIY Fleece Tie Blanket from The Spruce Crafts.
3-No-Sew T-Shirt Tote Bag from Mommypotamus.
4-No-Sew Fleece Hat with Pom-Pom from Team Colors by Carrie.
HAVE FUN!